Sunday, October 7, 2007

Fairy Tale Homemade Frame


I had fun last spring making this homemade frame. And of course, this great paper was my inspiration. This is a picture of my girls last fall in their sweet fairy costumes. I had to do something special with 2 of the pictures I took. This weekend I finally made the frame for the 5x5 picture shown below this post.

Fairy Tale Frame


This is another version of my homemade fairy tale frame. This one is 9x9 to accomodate a 5x5 picture. I start with a piece of foamboard and made the cuts with a zacto knife. Then I covered the edges with cardstock and ink. After those steps, it was ready to add the paper; torn, cut or cutouts added great effects along with inking. The pictures were covered in page protectors cut to fit. Then I attached each picture to watermark paper which then easily attaches to the back of the frame.
I am thinking about spraying FolkArt's glaze onto the frame assuming it will wipe easier when needed. Any thoughts on products??

Monday, October 1, 2007

Angel Minibook


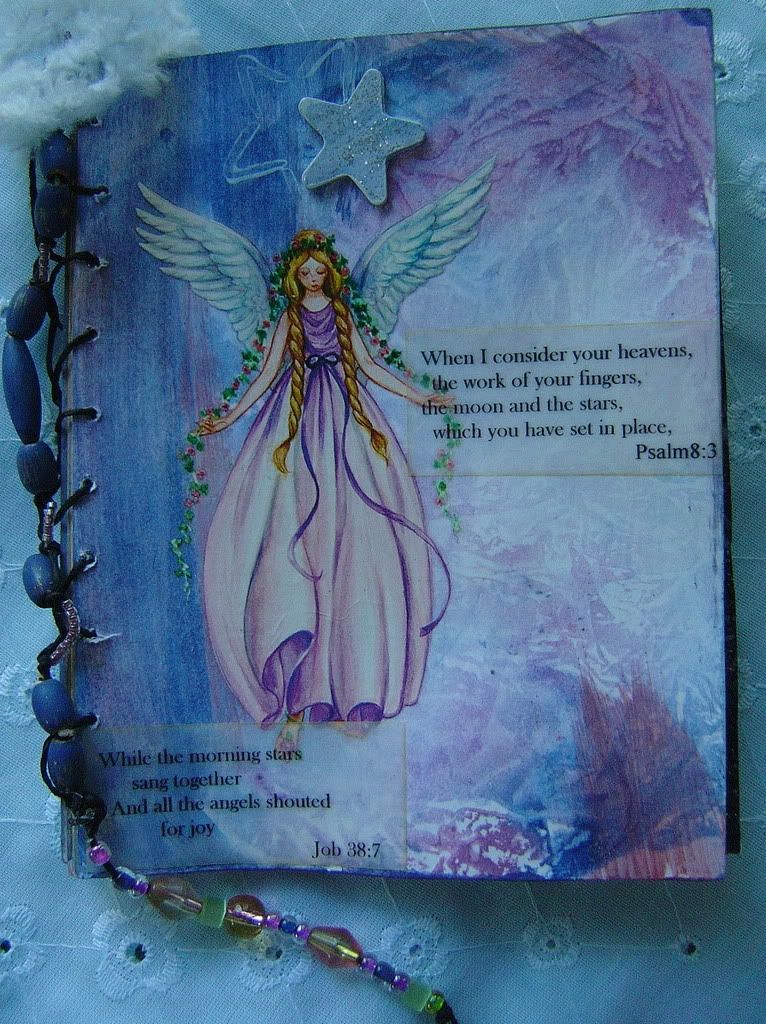
Angel MiniBook

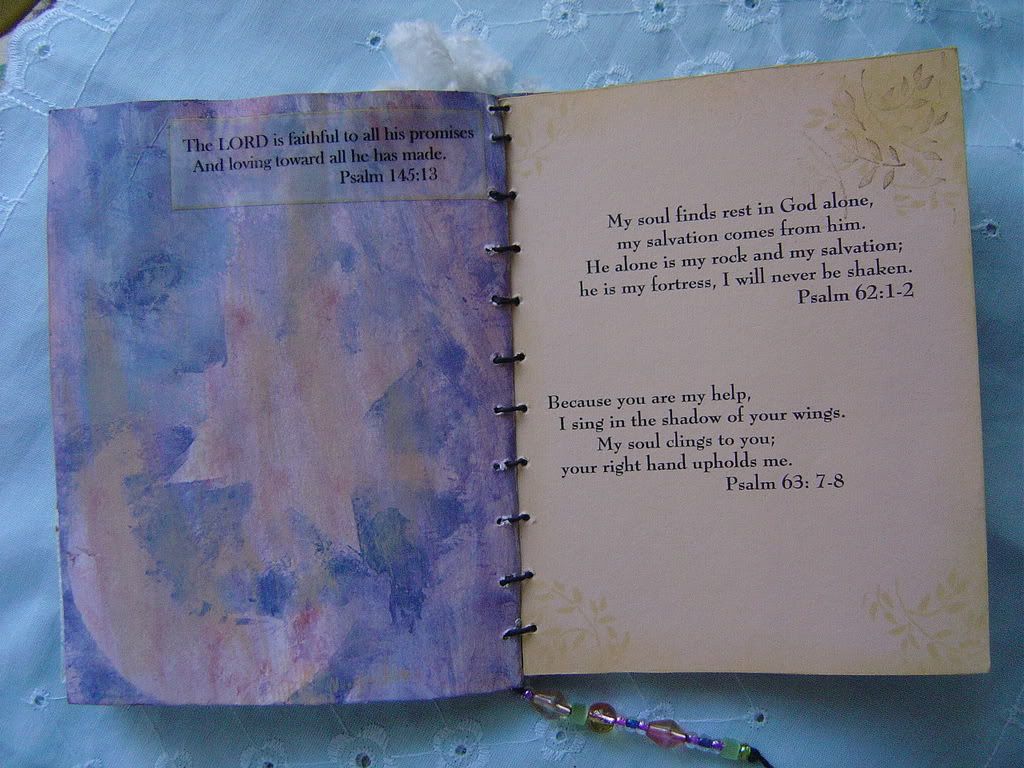
This is a sweet little mini-book I made for my youngest daughter who is now 3 1/2. She has always been fascinated with the moon and stars. It measures about 4x5 inches and is made out of altered paper. I used watered down acrylic paints, stamps and added some texture with salt and glitter. There is a wooden star on the front and back pages. There are only 6 pages inside but many Bible verses describing God's unfailing love for us and how he knows each and every one of us. The reference to the moon and stars are especially for my daughter. I want my girls to know Gods character much more than I did as a child.

Saturday, September 29, 2007

Quote Mini-Book


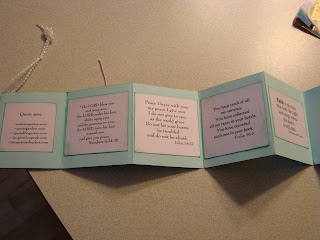
This mini-book measures about 3x4inches and simply holds quotes about family, friends or sisters and holds special verses from the Bible. The front I decorated with lots of beads/jewels and hangs by a pearled loop. I made it for a scrapbooker friend for her birthday. She and I have been great friends since grammer school.

Thursday, September 27, 2007

Textured Gift Box

This was a fun project. This is an 8x8 cardboard box, or at least it was!! It's now textured, painted gift box for a 6x6 minibook. I used gesso for the bottom but for the sides and top of the cover I used plaster. Plaster was fun to work with in last project, the matte for a frame, posted in Aug., that I thought I would use it again. This time I stamped into it while tacky. After it dried, I painted it then after drying, I dragged a stamp pad across it to accentuate the raised designs. I love that is looks like metal. The top is textured with a sheet of drywall sand paper also pressed into the wet plaster. I then painted a piece of this material to be the background of the stencil which is the last name of the family this gift is for. Inside the stencil is sand covered with a high gloss thick sealer. The box coordinates with the minibook which is all about our shared family vacations from the last two summers.

Monday, August 20, 2007

1909 Postcard, Art Card


I found a treasure in my husband's late grandparent's house. A box of vintage postcards. Many were from 1906 up to 1940's. (One was dated in the very late 1800's, how cool). One I framed untouched. This one I decided to have some fun with. I love how they are embossed so I left it unprotected. With past projects I would use cut page protectors or mylar. I added the 4 shells on the banner to compliment the theme of the card. Then I used a matte to attach it to an old bookcover that also belonged to his grandmother. My next project with these postcards will be to frame a few with the memo side showing. Maybe using transarencies so each side can be viewed and protected. (Still thinking about that one).

Tuesday, August 14, 2007

Altered Picture Matte

I bought a lovely frame with a 14X30 matte. The problem, the matte. You can't find this size matte with 8X8 openings. This matte had 8X10 openings. I thought, no problem, I'll alter it or just purchase another matte. Well, I decided to just purchase a matte, but a double matte is around $70. "Well then, I'll just dive into this challenge". I almost gave up a couple times. I was afraid of it looking cheesy. Well, about 3 weeks later, (2 children at home and a vacation)this is the finished design. And I really like it. Now the next step will be if it looks OK in the frame with the 3 pictures of my 2 lovely girls.

I took one inch scrap pieces of matte board for the top and bottom of each opening. To hide the "piecing together" I started using gesso but it just wasn't thick enough. But my husband's sheetrock plaster was. I finished off with the gesso and kept some texture. I also used the gesso to lessen the depth of the 1/4 side of each opening from the original double matte inside edge. I mixed up some colors of paint until I got the green I wanted. Then I sponged a very pale color on top of that then finished with gold ink pad to blend. To hide the depth inconsistencies of the sides I used 1/4 ribbon and finished with these great metal corners I found. I used colors that would compliment the frame and the room it will be in. Sure, buying a matte would have been easier but the challenge is what it's all about.