Monday, October 22, 2007

Glass-Like Tags


I was inspired by an article in the June 2005 Creating Keepsakes magazine to use clear epoxy for beautiful glass-like finishes to tags. Especially to preserve dried flowers. And using jewerly hangers seemed even more fun. So then, of course, I wanted to see what else I could epoxy. The round chipboard has been painted, stamped and has a dried flower (Queen Ann's lace) sealed with epoxy. The layered top daisy like-flower was stuck in the solution while still wet. It will be the top cover to a chipboard minibook I am working on. It is messier than utee, of course ,but I love the results and there is no chance of burning the flowers. I started with cut outs I made from the clear photo protectors. Transparancies would be stronger. Lightly glue the dried flowers, allow to dry then the layers of epoxy won't make the flowers "float".

Sunday, October 14, 2007

Baloo,My Chocolate Pup

My chocolate lab will always be in my heart. We lost him last spring before his eighth birthday. It has been a one and one half years but we still miss him. This keepsake is very rustic and compliments his beautiful color. It's made out of a cork placemat with a hard laminate top. I just used gesso and had a nice new "canvas" to work with. I then blended the autumn acrylic colors until I liked the outcome, inked the whole top with copper and sprayed it with a matte acrylic sealer. The 5 rectangles are painted chipboard. I used wire, beads, utee, metal strips and letters. Hanging from the left bottom is his tag hanging by a small piece of cedar bark. The whole board itself is hanging from a piece of cedar bark that was dried and flattened. I have since then made another one for my best friend with a picture her black lab. Very fun to make!!!

Sunday, October 7, 2007

Fairy Tale Homemade Frame


I had fun last spring making this homemade frame. And of course, this great paper was my inspiration. This is a picture of my girls last fall in their sweet fairy costumes. I had to do something special with 2 of the pictures I took. This weekend I finally made the frame for the 5x5 picture shown below this post.

Fairy Tale Frame


This is another version of my homemade fairy tale frame. This one is 9x9 to accomodate a 5x5 picture. I start with a piece of foamboard and made the cuts with a zacto knife. Then I covered the edges with cardstock and ink. After those steps, it was ready to add the paper; torn, cut or cutouts added great effects along with inking. The pictures were covered in page protectors cut to fit. Then I attached each picture to watermark paper which then easily attaches to the back of the frame.
I am thinking about spraying FolkArt's glaze onto the frame assuming it will wipe easier when needed. Any thoughts on products??

Monday, October 1, 2007

Angel Minibook


Angel MiniBook

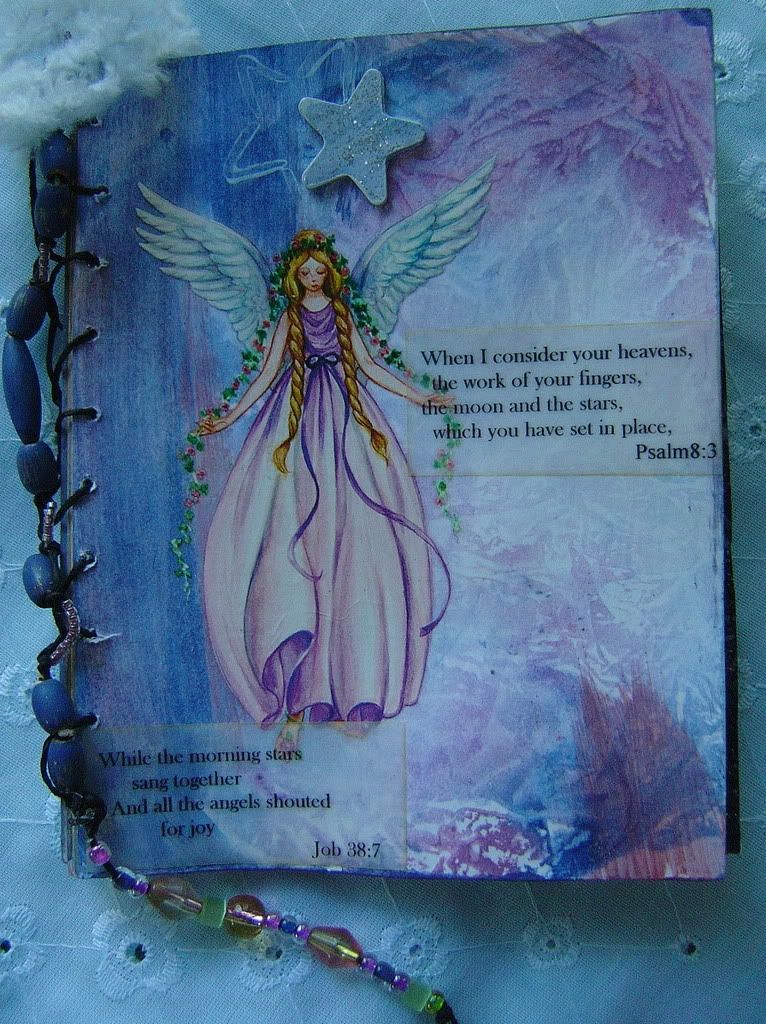
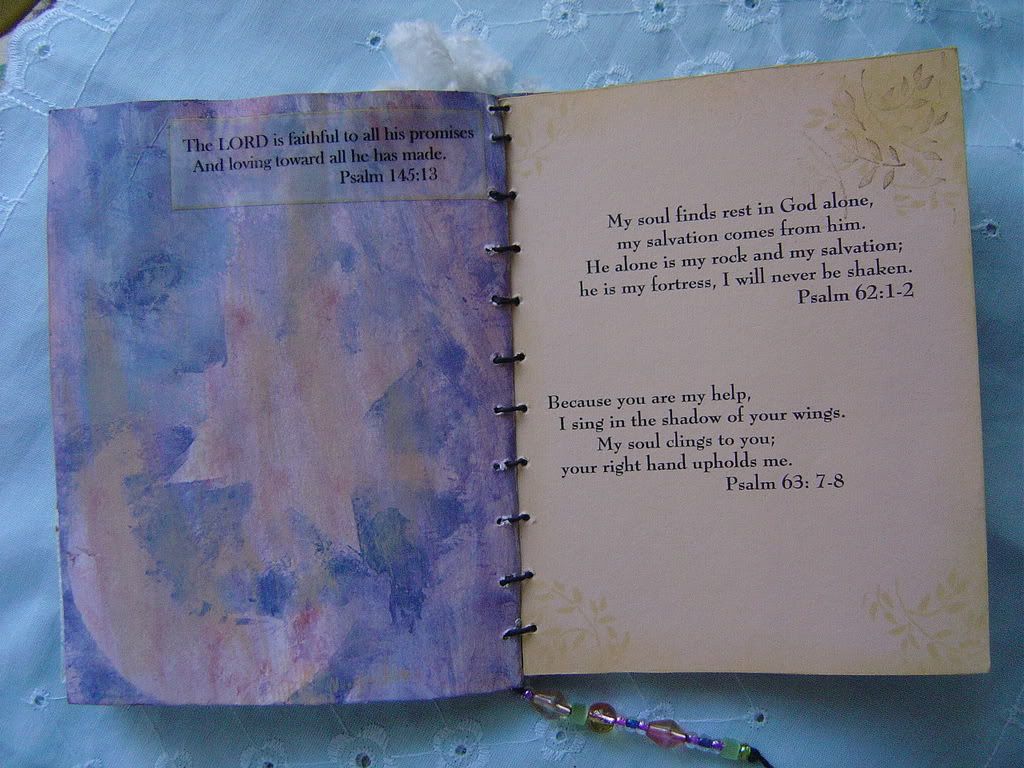
This is a sweet little mini-book I made for my youngest daughter who is now 3 1/2. She has always been fascinated with the moon and stars. It measures about 4x5 inches and is made out of altered paper. I used watered down acrylic paints, stamps and added some texture with salt and glitter. There is a wooden star on the front and back pages. There are only 6 pages inside but many Bible verses describing God's unfailing love for us and how he knows each and every one of us. The reference to the moon and stars are especially for my daughter. I want my girls to know Gods character much more than I did as a child.

Saturday, September 29, 2007

Quote Mini-Book


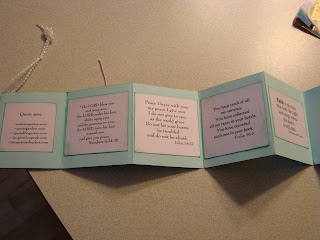
This mini-book measures about 3x4inches and simply holds quotes about family, friends or sisters and holds special verses from the Bible. The front I decorated with lots of beads/jewels and hangs by a pearled loop. I made it for a scrapbooker friend for her birthday. She and I have been great friends since grammer school.

Thursday, September 27, 2007

Textured Gift Box

This was a fun project. This is an 8x8 cardboard box, or at least it was!! It's now textured, painted gift box for a 6x6 minibook. I used gesso for the bottom but for the sides and top of the cover I used plaster. Plaster was fun to work with in last project, the matte for a frame, posted in Aug., that I thought I would use it again. This time I stamped into it while tacky. After it dried, I painted it then after drying, I dragged a stamp pad across it to accentuate the raised designs. I love that is looks like metal. The top is textured with a sheet of drywall sand paper also pressed into the wet plaster. I then painted a piece of this material to be the background of the stencil which is the last name of the family this gift is for. Inside the stencil is sand covered with a high gloss thick sealer. The box coordinates with the minibook which is all about our shared family vacations from the last two summers.